Author name: bscsupport

dryer-vent-1920w
Uncategorized

How to Properly Clean Dryer Vent

Lint accumulates over time in the dryer vent. Not only is this unhygienic, but the material is also flammable. Failure to maintain the cleanliness of this particular vent can lead to disastrous consequences due to fire. You should inspect and clean the dryer vent on a regular basis. The cleaning schedule should depend on how often you use the dryer and how many clothes you put in it on a typical day. Follow these procedures for proper thorough cleaning:   Inspect the outside vent opening. If there are obstructions – for example, animal nests, leaves, and any other debris – remove them as best as you can. The ground-level vent opening is a favorite nesting location for rodents. Now go back inside and pull the dryer away from the wall to gain access to the electrical cord and the interior duct hose. Unplug the cord (or turn off the gas) to ensure safety. Remove the lint filter and duct joint from the unit. Clean visible debris from both the lint and lint housing. Use a long flexible brush to reach deeper into the housing. Vacuum the lint filter, lint housing, and duct joint. Remove the entire exposed ductwork connected to the outside wall opening. Brush and vacuum the entire duct as well as the wall opening. Reassemble all parts previously removed, and install a replacement if needs be. Cleaning a dryer vent is a pretty simple task involving only brushing and vacuuming. However, you need to disassemble some detachable components to ensure proper cleaning. Refer to the user manual if you have difficulties disassembling/reassembling the parts.

garbage-disposal-1920w
Uncategorized

How to Clean Your Garbage Disposal

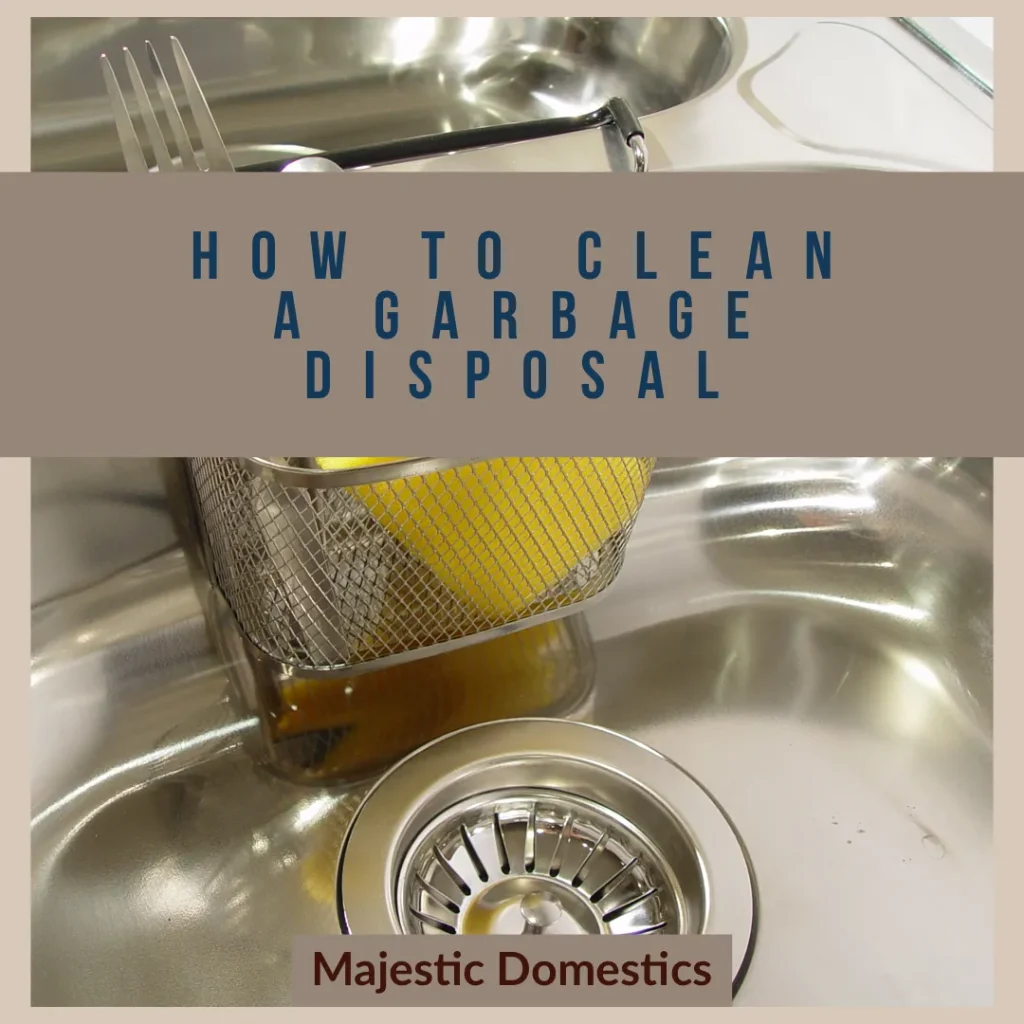
While a garbage disposal generally does a great job at cleaning itself by breaking down food particles and sending them down the drain, this appliance can get filled up by certain items such as bones, egg shells, and grease. Probably you didn’t put those things intentionally into the disposal, but they got in anyway. Keep your garbage disposal clean to maintain its good performance. Here is how to do it: Start by turning the garbage disposal off. If there is no “Power” button, you can just unplug the cord or turn off the disposal breaker in the service panel. Scrub under the baffle using an abrasive sponge; apply dish soap to the sponge beforehand if needs be. Make sure you scrub into every fold and crease in the baffle. Rinse the sponge and repeat the process until you manage to remove every bit of gunk. Use the same sponge and dish soap to clean the grinding chamber or impellers. Swipe around the top of the grinding chamber, rinse the sponge, and repeat until the sponge picks up no more gunk. Up until this point, you can reconnect the power, rinse the disposal with warm water, and consider a job well done. For more thorough cleaning, you may want to rinse it by using a mixture of hot water, baking soda, and vinegar in 2:1:1 ratio. Pour them into the sink (under which is the garbage disposal), but make sure that the sink stopper is put in place. Let the mixture sit for about 15 seconds to react, remove the stopper, and run the garbage disposal.

How-to-Clean-and-Maintain-Tile-Flooring-1920w
Uncategorized

How to Clean and Maintain Tile Flooring

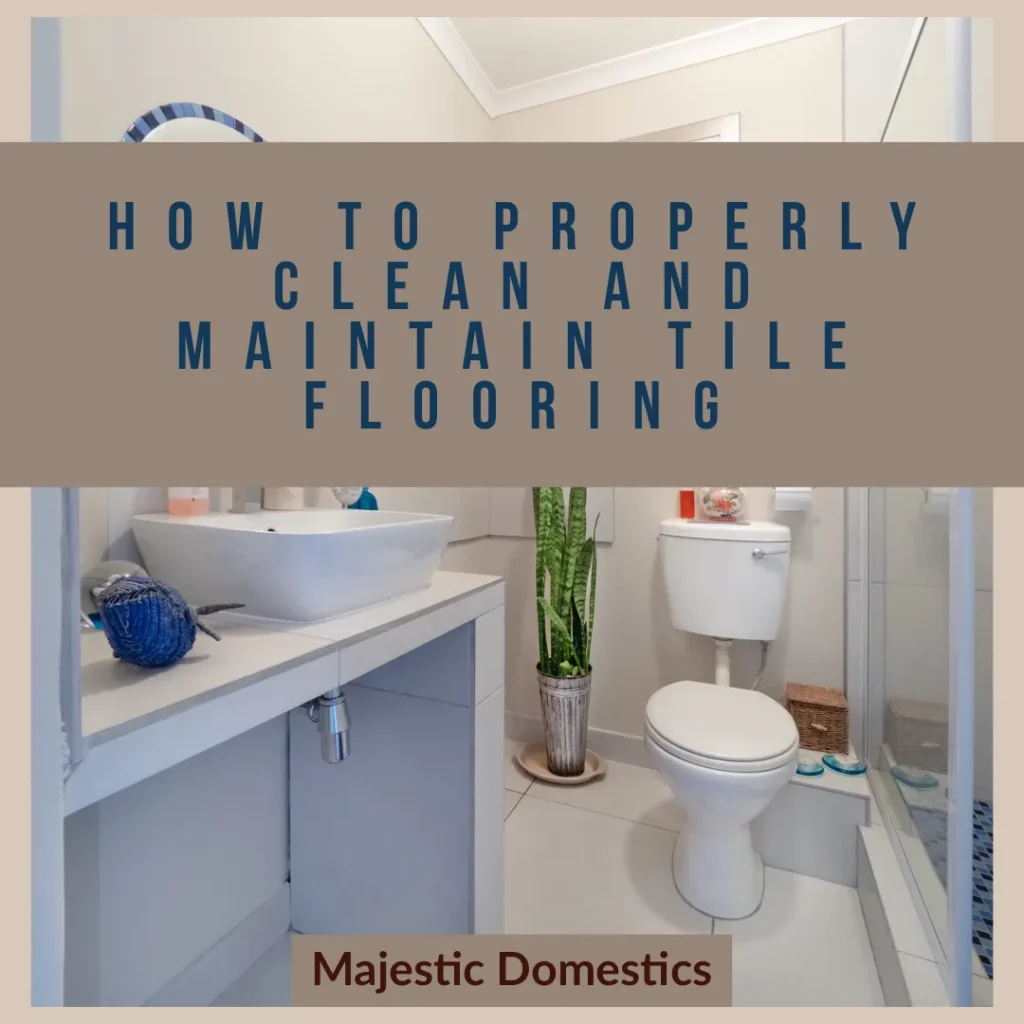
A house with tile flooring should be shiny and gleaning to the point where it almost feels guilty to subject it to dirty pair of slippers. Cleaning the floor may sound like a labor-intensive task, but it really is quite easy.   Follow these tips to clean and maintain the good looks of your tile flooring: Loose debris – such as dirt and dust – can scratch tile flooring faster than you may think. Keep dirt off by sweeping and vacuuming the floor on a regular basis. Do not use a straw broom to sweep the floor, as it can also scratch the tiles. Mop once a week with a mixture of mild soap and warm water. Use the right types of mop and soap specified by the tile manufacturer. Put in mind that you must dry the floor properly soon after mopping because the wet surface is a magnet for dirt. Clean spills as soon as they hit the floor. Although tiles are pretty stain-resistant, some liquids can cause a lasting stain for example nail polish, ink, grease, and blood. Leaving them unwashed for just several hours may even result in permanent marks. Use an absorbent cloth to wipe up the spills; use disinfectant if necessary. As preventive measures, put door mats and rugs in some areas where foot traffic is high. A door mats must be placed in front of every door to help remove dirt from your shoes before entering the house. Rugs in the most frequently used rooms are good ideas too, as it can help prevent spills from directly hitting the floor. That being said, you must clean the rugs regularly as well.

howtocleanhardwoodfloors-1920w
Uncategorized

How to properly clean hardwood floors

Hardwood floors are one of the best investments an owner can make to improve the value of his home. There is currently a strong demand for wood floors in the market. If not taken care of properly, wooden floors can reduce the value of a house. Most owners choose hardwood for its durability and warm charm. They can be easily added to any room. Hardwood styles never go out of style and can save you money in the coming years. Carved floors generally lose their appeal and often need to be replaced every few years.   If you are cleaning the wood floors with a beautiful appearance, it is a problem if it is not cleaned properly. By using the wrong type of cleaner as one that contains sharp chemicals, the appearance of the wood can be destroyed and the homeowner can make a great effort to restore it. Many methods are used to clean wood floors. The first is steam cleaning, other than cleaning. Some scrub remains may leave the floor behind. The process uses steam cleaning, which easily removes dirt. Floors dry quickly and there is no need to sweep and clean the area. Nor is it concerned that family members or pets must be returned to sliding and collapsing floors.   The best steam cleaner uses a process called instant heating. It is like a tankless water heater and allows water to heat quickly. Tap water can be used. Most domestic water systems can be used unless it is a hard water system. If so, distilled water should be used. It is important to ensure that floors are free of dust and sand before starting the process. Floors can be scraped off by washing dust and dust. If a cleaning solution is added, make sure it is neutral with an average ph. Seal the area before using it and do not use floor scrubbing in places, this will cause heating if water enters the wood. Things to remember when cleaning hardwoord floors   Before cleaning wood floors, you need to know what type of finish you put on the floors. New floors are sealed today with urethane, polyacrylic or polyurethane.   The floors are sealed with surface and water and water-resistant and are easy to care for. Just sweep and mop and your floor is clean. Therefore, they should be protected with liquid wax or adhesive wax. Varnished, lacquered and untreated floors are not as resistant to water spills, moisture and are treated as other sealants.   Try these floors as you would deal with oiled floors. If you are not sure what type of floor you have, you can tear your fingers around the floor. If there are no spots, then a floor surface appears on your floor. If a stain appears, the floor was treated with a penetration seal, oil finish, shellac, varnish or lacquer and then enclosed. Do not use oils, waxes or furniture sprays on your floor. The slippery surface will leave traces of oil and lead to furniture sprinklers.   The wax takes time to apply and makes it difficult to protect. Direct ammonia, alkaline products or abrasive cleaners will be used without problems or scratches. Floor refineries will recommend safe products for use, but sometimes these products are hard to find and can be expensive. Murphy’s oil soap can be used as a soap dish with water. Do not mop with water alone, as this will bring dirty floors to light and will not remove dirt and grip.   High traffic areas should be swept daily and fed twice a week. Low traffic areas can be turned off once a month or change the seasons. Always use a damp mop that is not soaked, as this will damage wood floors.

clean-coffeemaker-1920w
Uncategorized

How to disinfect your coffeemaker

Coffee makers are useful appliances that can give you a fresh cup of java first thing in the morning. However, due to high humidity levels, mold and bacteria can easily become a problem. Manufacturers of coffee makers suggest cleaning after each use. They must also be thoroughly cleaned every month to remove hard water deposits, remaining coffee oils and other impurities. The minerals in the water can be a problem, especially if your home has hard water, to degrade the components of the coffee maker over time. For some time, coffee oils will remain the same, adding the flavor of the best additives. This is how your coffee maker can clean in a step-by-step guide from experts. Wash the removable parts with dishwashing soap after each use This is important because it helps with the coffee, grinding, and oils that remain. You can wash your coffee maker in hot, soapy water, but check your manual to see if using a dishwasher is safe. Confirm your machine every month with vinegar Over time, hard water minerals can contribute to the internal operations of your machine, and you may notice that your coffee takes longer with a drip. For things to be in their best form again, you must clean the machine. Fill the tank with vinegar and water in equal parts, and place a paper filter in the empty machine basket. Apply the pot in place and “prepare” the solution halfway. Turn off the machine and let it stand for 30 minutes. Then, turn the coffee maker back, finish the preparation and pour the whole pot of vinegar and water. Rinse everything by inserting a new paper filter and grouping a whole pot of clean water. Repeat once more. Make your carafe sparkle again with rice You should always wash your coffeemaker after each use, but if it looks dingy over time, fill it with warm water, soap and some rice. Swirl the mixture use an exfoliating sponge to remove debris and rinse thoroughly. Clean the brew basket If you like most people, you probably wash the prep basket in the sink after emptying it. From time to time, it is good to do an extra-long washing it well with soap and warm water. This will take care of oily residues that can leave a bitter taste. Remove mineral deposits You can consult your manual for specific cleaning instructions. But in the case of most machines, an effective solution is water and white vinegar to pass through the machine from time to time. Then, run simple water a few more times to remove any traces of vinegar.

organize-your-garage-500x500-1920w
Uncategorized

Easy ways to organize your garage

The cleaning of your garage is not easy, so we have put together some of the best garage storage ideas. Check these tips to find ways to make your garage more organized. To begin you need to pull things out of the garage into the driveway so you can take inventory. Separate things into piles. Cleaning, gardening supplies, sports equipment and out of season holiday stuff. Once it’s in piles and the garage is empty its time to figure out how to organize it.   This may mean you plan a trip to a home depot to get some organizing tools to put things back in an organized way. Look at the items you pulled out, what do you need more often? What types of things can be buried because you never need it? If you need something on a regular basis look for space with great easy access. If you have lots of tools, there are many great ways to organize those. Your hardware store might have great solutions. Shelves in the garage Maximize your garage storage space quickly and easily with simple, inexpensive shelves, baskets and hooks. And the garage storage shelves will allow you to organize your stuff in the garage. Using storage containers Plastic containers are one of the main garage storage systems to separate and organize your garage equipment by sport or projects. Consider containers of different colors for each sport/project so you can find what you need quickly. Try a dollar store for little tiny storage containers to hold and organize those little pieces. Products for car care cabinets Organize your automated channels, fluids and other items in a simple cabinet/work table. Keeping the products, you use for your autos all together makes it easy to access when you need them. Try adding hooks on the walls Any hardware store has a huge assortment of custom hooks to hang brooms, rakes, bikes, sports equipment. To initially set this up organize all the things you might be able to hang and remove them into the driveway, then sort them by category, garden, sports… Then take inventory of the types of handles your new wall system will need to have. Get to your hardware store with a complete list so you can buy the right types of hooks to get things organized together. Garage roof railing storage Get those big plastic containers from the garage floor and roof! Screw 2x2s to compose the roof with 3-1 / 2-in. Replacement screws every 2 feet Use the containers as a guide to space the 2x2s. The lips in the containers should only sweep 2×2 when they occupy the containers. Then, center and screw 1×4 on the 2×2 with 2 in. Screws the garage roof is a great place to store light seasonal items and medium weights such as Christmas decorations and sports equipment

refrigerator-cleaning-500x500-1920w
Uncategorized

How to safely disinfect your refrigerator

Keep your refrigerator clean is an important part of keeping your food safe. Although cleaning the refrigerator is never pleasant, it is never necessary for your own safety. Using some ingredients in your pantry can get rid of mold in your refrigerator. It is important to know the best way to clean a refrigerator as it will save you time efficiently.   The first step is to empty out the refrigerator, use this a great opportunity to thrown out expired products. Remove the shelves and drawers and clean the floor of the refrigerator and any spills that might have dripped down the sides. Create a homemade all-purpose cleaner by combining the following elements in a gallon of hot water: 1 cup of net ammonia, ½ cup vinegar and cup of baking soda. Pour it into a spray bottle or use a bowl with a sponge. The formula without this rinse is a de-greaser that prevents compost and compost. Brush the entire refrigerator with this solution, including drawers and shelves. Use toothpaste to remove difficult stains. It has a fine abrasive and has a pleasant smell. To remove those dust bunnies from under the refrigerator, remove the grill and run a wand that is covered with a pair of socks underneath. Also check all the water under the unit, as stagnate water can smell. To remove refrigerator odors, sprinkle some vanilla extract on cotton balls, place them in a shallow dish and put them in the refrigerator. An orange extract also works.

garbage-disposal-500x500-1920w
Uncategorized

7 tips to clean your garbage disposal

If there is a bad smell, a fault coming from your garbage disposal, it is time to do a proper cleaning. Here’s how to do it (and how to prevent the funk from coming back). Garbage disposals are ideal for grinding food scraps and disposing of them. However, garbage can get stuck in the blades, grease the pipes and harvest a mold over time. Disgusting! Here are some quick ways to cure the problem, most using the supplies you have in your kitchen. Remove any obstacle: Before you start cleaning, make sure there is not something stuck in the sink and drain area. If you think anything has fallen into the drain, use pliers to remove it. Avoid getting your hands into the drain. But, you can still discard them, and you do not want your hand introduced while executing the removal. If you need to clear something from the drain, turn off the electricity on the circuit to avoid accidental activation. Then, be sure to wear kitchen gloves to feel the blades. Use the flashlight to see what is stuck, if necessary. Scrub the Baffle and Disposal Opening: Before attacking the removal with any of the methods below, you must first scrub to release any material on which the material is being released and clean the areas that the methods below will not reach. You should be involved in a splash guard (the part of black rubber that covers the drain hole in the sink) and the neck of the opening. Even when using the cleaning methods we are about to investigate, it is best to scrub the rubber lining by hand and first open the top of the drain with a stiff kitchen brush and some soap. This ensures that food and grip are not smelly in the drainage area, where other methods cannot be eliminated. Hot water and dishwashing soap: This is a quick and easy way to clean. Turn off the disposal, add the sink. Run warm water and add a dash of dish soap. Wait until the water is approximately four inches deep, then remove the plug, transfer the disposal and let the water soap go down the drain. Be sure to use hot water, as it works best to break down oils and layers of stubborn fat. Little cold water here. This method is better than running water. It is better to rinse the water through a lot of water at the same time to attack the slime. Baking soda and vinegar: This famous cleaning duo is an excellent way to fight germs and an incredible bite. Start by. shaking half a cup of baking soda in the drain, then slowly add a cup of white vinegar. This mixture will bubble up as an exciting science experiment. Use a drain plug to cover the drain and let it sit for ten minutes. Unplug the drain, discard and pour it into a pot with boiling water. Do not use this method too often, since vinegar is acidic and can damage the rubber elements found in the disposal. But do not worry, it is good to clean it from time to time. Ice cubes and salt: Who knew that ice cubes were the answer to their waste disposal? In the process, they break, but they break with the garbage disposal blades, discarding debris and food debris. What a free way to do the job! Start the removal of. Pour into two cups of ice cubes, followed by a cup of rock salt. Turn the arrangement forward and let the cold water run, allowing the blades to press the ice combo and salt. You can pour white vinegar on a tray of ice cubes, freeze it to get a very effective cleaning tool. Bleach: Yes, the bleach will kill all the mold and bacteria. But, too much fat can be difficult with excessive use, making it difficult for you to get fit. So use sparingly. We recommend mixing a tablespoon of chlorine in a gallon of hot water. Pour this mixture into the disposer and let it stand for a few minutes. Then turn on the removal and run the hot water. Open a kitchen window if you can because the smell can be a bit strong. Citrus Peels: If you are trying to get rid of their removal, citrus peels are the way to go. Oranges, grapefruits, lemons, lemons, they all work! Be sure to cut the pieces into small pieces before throwing them down the drain. Run cold water and separate the provisions. Use citrus peels after performing one of the deepest exercises mentioned above because it is not as effective as the other methods.

how-to-remove-pet-stains-500x500-1920w
Uncategorized

How to remove pet odor

How to get rid of Odors Pet Smell can be a discussion boxer when you show a property for possible new renovators it can be a problem for renters who move. If you are an owner or a deposit, this article will provide some suggestions to solve the “smell” with natural or effective cleaning solutions that are easy to use. Empty First, Sea, Empty There is a way for pet skin and dandruff to get a carpet on carpets, furniture and even fabric window coverings, no matter how well or how often the property (and pet) was cleaned. Skin and dandruff can also be found on non-carpeted floors. Vacuum floors and stairs, carpeted or not, as well as any upholstered furniture and curtains left in the apartment. Sprinkle baking soda over all carpets, rugs and upholstered surfaces. Let it sit for several hours and then vacuum again. Sodium bicarbonate odors neutralize the trapped, as it does when used to remove a funky smell in a refrigerator. Wait a few hours and aspire again. Exposure to sunlight and fresh air this is for upholstered furniture, carpets or any portable item covered in fabric. Take these products outside to reveal fresh air and some light. A clothing line is an excellent way to avoid insects and expose the piece to the wind. Leave them out for several hours on a dry and wet day. Sunlight and air flow help eliminate all kinds of odors that are infected in the fibers of the fabric. Sunlight and fresh air (if the air is dry) are also ideal for the rental unit. Open the curtains and windows to ventilate the area for several hours a day. Find the source of the stench when pets and floors are carpeted side by side, urine smells can be a problem. If you cannot find the source of the swivel, walk around the room with the black light of your hand after the lot and the rest of the room goes out. Black light reveals urine stains and potential areas that require cleaning. Method 1: Vinegar Solution First, spray the vinegar to test in an insignificant area, such as in the closet, to make sure the carpet does not discolor. Usually, the carpet is not affected by vinegar, but it is always better to be safe. Treat the dry problem on the carpet by moistening it with vinegar and flat water. Use a spray bottle to spread the area instead of placing it. After a few minutes, block the area by pushing it with folded paper towels, removing as much liquid as possible. Place a fan near the carpet to dry it quickly. Sprinkle the dry area with baking soda. Vacuum after 15 or 20 minutes. If the carpet still smells, apply the vinegar again. Method 2: Enzymatic Cleaner All natural enzyme cleaners can help eliminate the smell, debris and germs left by pet accidents. In addition to the vinegar solution, test the enzyme-based cleaner in an insignificant area before applying it to the carpet. Clean the area with vinegar and spray to help eliminate waste. Throw away with the enzyme cleaner (such as Miracle Nature), following the instructions on the label. If you feel ambitious and do not remember the waiting weeks for the fermentation smelting, you can make your own with citrus peels, sugar and vinegar. You may need to replace the carpet and the padding if the entire carpet appears to have been damaged and odors do not disappear after cleaning. Method 3: Citrus Enzyme Cleaner Common color products often have long labels that indicate how they use “enzymes” to digest data and odors and break them down at the molecular level. It is solid, but with little time and patience you can make yours easily. You will need 7 tablespoons brown sugar 1½ cup of lemon, lemon and orange 1 liters of water- a transparent bottle or container that is large enough to hold the liquid and parts / remains.

things-to-clean-daily-500x500-1920w
Uncategorized

Things you need to clean daily

We know what you’re thinking: “Another thing to add to my list to do?!” But trust us when we say that method is behind our madness. These seven corporations will see a big difference in their home in the long term by reducing scrubbing and scrubbing in the future, not to mention harmful germs and bacteria. Think of all the essential things that should be done every day to create that fresh and fresh feeling. 1. The dishes Dirty dishes attract pests and start to stink. So wash them or load them in the dishwasher after each meal. Your kitchen will look cleaner, and family members will be more likely to try their own dishes if the sink is empty. 2. Kitchen counters Fatty prints make an unpleasant task for cooking. Attract food spills and pest crumbs. Don’t bother moving everything from the counters unless you have time or energy for that. Spray the spray with a homemade multipurpose spray and remove the microfiber cloth. Lose the trash you have in the process and also remove the food. 3. New stains on the carpet Spills occur, but they don’t have to be permanent heights if you treat them immediately. Once a day, look at your carpet and face any new place. A mixture of dish detergent and hot water removes the freshest stains. 4. Kitchen waste when food scraps and other kitchen waste are left to raise household pests during the night and there are odors. If you have garbage bags that cost a half-full bag, remember that $ 0.20 is much cheaper than getting rid of thieves or mice. If you are concerned about reducing plastic in the landfill, transfer it to the kitchen in biodegradable garbage bags. Either way, do not allow your trash to be filled with food scraps that rot in your kitchen overnight. 5. Doors Toothpaste splashes and loose hairs in your bathroom can be messy even when they are not. For the kitchen sink, it’s hotter than a toilet. Give them a simple blast with spray disinfectant to sink at home or fast once with cleaning every day or, at least, with a cleaning cloth. 6. Hand towels They could not be dirty, but tea towels were considered the most polluted place in the kitchen in a USDA-funded study. Similarly, small towels in their bathroom, according to Carolyn Forte, director of the Good Housekeeping Institute Cleaning Laboratory, said: “Hand towels are warmer since you use them more than once a day. Day, or even every day, if you have a large family.” 7. Shower walls The easiest way to get rid of shower tiles is regular maintenance, so Forte recommends that the squeegee pass the tile after each use. Drying the walls will prevent mold stains and reduce the subsequent cleaning time. 8. Coffee makers If you’re like us, you probably break a fresh pot every day. And since your coffee maker has bacteria and a mold, you should clean it every day. “The removable parts of your coffee maker are best washed after each use to remove coffee, grind and remove oil,” said Forte. “You can wash hot, soapy water in the sink, but these are generally safe for dishwashers. Adopt a daily cleaning procedure now, don’t confuse these five quick tasks with the actual cleaning. The minimum amount required to prevent your home from being fast is when you are very busy.

Cleniing Logo
Content, including images, displayed on this website is protected by copyright laws. Downloading, republication, retransmission or reproduction of content on this website is strictly prohibited.
Get a Quote
(720) 412-2311
Scroll to Top